Wednesday, April 17, 2024

Uniquely Creative Cards

 Hello, 

Today I'm here sharing a set of cards made for The Mad Scrapper Blog using a new and beautiful collection of 6x6 papers from a company called Uniquely Creative they come from Australia and Janine has quite a few different collections in stock so please go over and check them out.

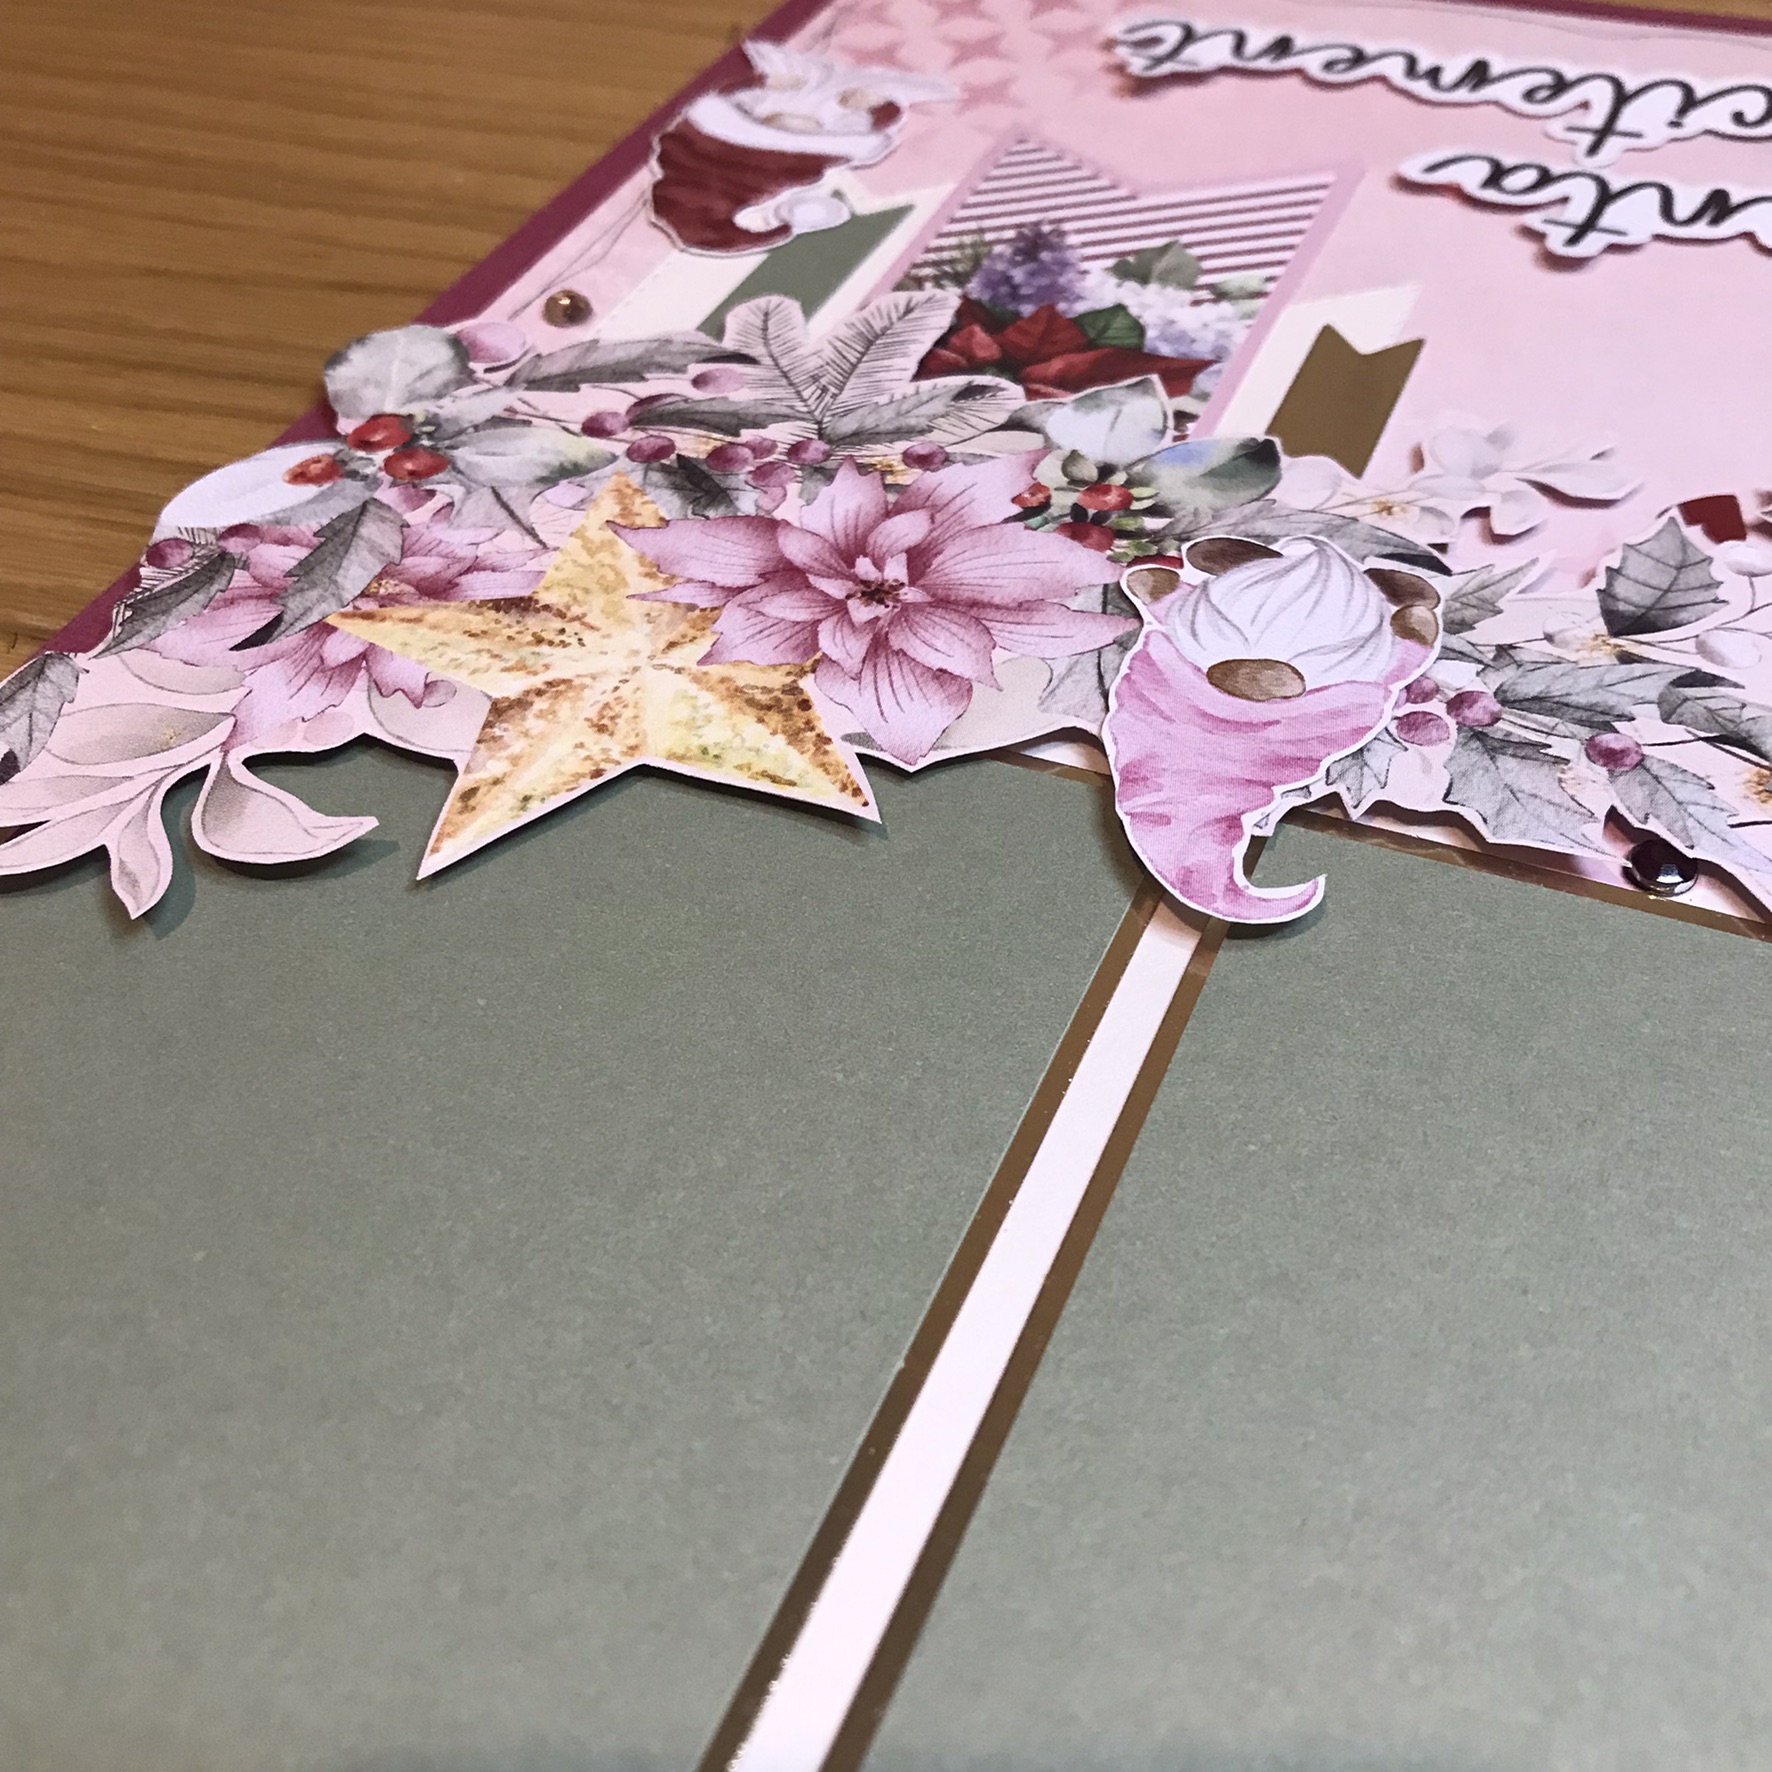
I can honestly say that they rival any of the others that are out there from the big companies. I also picked up some plain card stock in 12x12 and it is so thick, I would be happy to make a card blank from it because it must be 300gsm. There are 12x12 papers, 6x6 paper packs, ephemera, cut apart sheets, dies, vellum and more. There are also card making kits but you have to be quick with those because they are very popular, I wanted to try one but they had gone so I picked up 6x6 paper pack and a pack of creative cuts and set about to make up my own.

I have to say I was amazed at how easily they came together and I still have lots left over. These 4 are C6 and 1 6x6. All I have added are some gems, a few peeloffs and my own sentiment stamps.


These next 6 I have made to go in a little gift box as they are little notelet size 3.5x5 


I have added a little verse inside each and they are ready to go.


Yet again I can't tell you how lovely these products are and you won't be disappointed. Pop over to The Mad Scrapper  or call in at check them out in person. Thanks for stopping by again today.

Sue.

Here are some of the items I have used today:


Wednesday, April 3, 2024

My Heart

 Hello there!

Today I am up on The Mad Scrapper Blog with this layout of my family taken Christmas 2023.


It uses the beautiful papers from the Australian company Uniquely Creative and this collection is called Gypsy Heart. I started by taking their green plain cardstock and gutted out the centre then taking my chosen 12x12 paper I trimmed 1/4inch from each side and matted it on to the green.
Next I took the tapestry stencil and using the Tea Dye ink I added some around the page for extra dimension, you can see in the photo below.


Then I took a doily die and using a texture page I cut one out and placed it on the page where the photo is going to be placed you can just see it below under the flowers. You can see that I have added the photo to a green mat and lifted it with some spare chipboard. This allows me to tuck things under.


I also added some doily to the top right corner too. Then I opened the pack of coordinating creative cuts and added my two clusters to the page. This top left I allowed it to come around the side, I also added some fussy cut from the 6x6 paper pad. I used some sentiment snippets around the page.


I added a couple of gold foil leaves to the clusters because there are a few gold touches within some of the papers. Most things are lifted for dimension and everything is inked on its edges.


Here you can see the bottom cluster a little closer along with the title which comes from the cuts pack. The Livin the Life is from the 6x6 paper pad along with these daisy's. I used one of the tags to add a little bit of journaling and attached some twine before adding it under the photo.


You can see from the main photograph that I have added daisy's & hearts around the layout as well as gold and black gems. These paper collections are wonderful and the quality of the papers are amazing I do hope you call in and check them out yourself or if like me you live too far away go to  The Mad Scrapper  and you won't be disappointed.  Thanks for stopping in again today.

Sue.

Here is the list of products I've used today:
GYPSY HEART - A GREAT DAY   I used the B side
Finnabair Tapestry Stencil


Wednesday, March 20, 2024

Santa Excitement

 Hello,

Today I'm up The Mad Scrapper Blog with this Ready to take photos layout. Did you buy some of these beautiful papers by Uniquely Creative and are still waiting to use them? Well why not make up a layout ready to take them when you get them printed.


I took two papers for this layout and from the Sparkle paper I fussy cut the central banner then I used the left over for the bottom of the page and then I took Bazzill Walnut Cream for the top joining just over the halfway point. Then I trimmed it down to 111/2 and matted it on to Bazzill Sweetheart cardstock. I decided to add some stencilling so I chose the Geo Star by Dusty Attic. Then I fussy cut cluster and added that to the left of the page and finished off will a couple of squiggly lines around the pink base.


Then I set about making the mats for the photos knowing the were going to be 3x4 in size so I found some green from my stash to add to gold mirri. I also made a couple of banners to go with one I cut from the paper and adding to the central line.


The next few photos show the finished results after the banner has been added along with a few extra bits and bob's such as extra Christmas Gnomes, gems and hearts.


You can tell from this photo that the banner is lifted off the page for dimension. The title is fussy cut from the paper.


I set the flag banners at different lengths for interest.


Here you can see the gap I have left for the photos to slip right in as foam is only added below the gold line.


Thanks for stopping by today, I hope you have found this of some help to get layouts ready. I know if you missed out on the individual papers Janine has the collection pad available in this set along with some newer designs all of which are stunning. Pop over to The Mad Scrapper  to check them all out.

Sue.

Here is a list of supply's used :
Pink Kaisercraft Gems
Gold Mirri
Green paper


Monday, March 11, 2024

Happy Life.

 Hi,

Today I am sharing this layout of my niece and her daughter for The Mad Scrapper Blog using beautiful papers and flowers available in store.


I started by gutting the black to give a quarter inch boarder all around, then after trimming the Gardenia paper I stitched around from the butterflies using floss in all the colours in the paper. After distressing the edges I stuck it down. Then I decided to add some more butterflies using rub-ons


Next I took 2 double hearts and inked then clear embossed to give a gloss finish which I think you can just make out in the photo!


Here you can see I tucked the each side of the photo. You can see one of the added butterflies too.


Here is the cluster at the top right of the photo. I tucked a little phrase snippet in there too.


Here is the bottom cluster along with a perspextive love heart and more snippets 


I have a full list (huge!!) of supplies used below. Thanks for stopping by today and don't forget to check out all the beautiful things available from Janine in The Mad Scrapper  shop or online.

Sue.

Here is the list:
49andmarket - Butter & Lilac Rub-ons
49andmarket - Beached Ephemera
49andmarket - Rustic Bouquet - Tomato + Blue Jay


Friday, March 1, 2024

Fish Town

 Hello,

I'm just sharing this layout from our day out in Brixham AKA Fish Town!  We went on a lovely walk with my sister & hubby along the cliffs and dropped down in to town for a coffee and cake at the harbour side. It was a beautifully hot day so everywhere was busy which was lovely to see.

I have used 2 beautiful papers from The Mad Scrapper  the base is Amazonite from the Shades of Boho collection by Maja Designs and Legends of the Sea by Pion Designs both I have had in my stash for a few years now but maybe you have them too. 


Here you can see a closer look at the top cluster. I am following along with a sketch challenge and you can see that below, I have twisted the sketch for my layout. The sketch uses multiple circles in its design and I have chosen colours from the photos. 


I have used a new to me fish stencil under both clusters as well as a few diecut fish. I have added glass drops and perspextive circles and stars.


I loved the mermaid image so decided to leave it untouched. Whilst walking about they told us about a TV series that was filmed in the town telling the story of the community and some of its key residents so when we got home we watched it. It was good because we had seen everywhere they were talking about.


Here is the sketch I have followed, it's by Allison Davis who's family own and run the Scrapbook Generation store in USA


Thanks for stopping by today, I hope I have inspired you today by using up old stash and remember if you are stuck for an idea a sketch is always a great place to kick start your mojo.

Sue.


Monday, February 19, 2024

Always Be Us

 Hello!

I am up today on  The Mad Scrapper Blog with this holiday layout from summer 2023.


I have used beautiful papers from Maja Designs along with some 49andmarket embelishments, to start with I took a sheet of blue and gutted out the centre as I only needed a 1/4 inch showing and on to that I added a trimmed down sheet of a vacation/beach theme paper but not before I ripped out a couple of small section tucking a little scrap of heart paper. Then I added the b side to the sneaker paper with a tiny brown mat keeping it all tonal. All edges as always are distressed.


Then choosing my photos I decided to to mat them also on brown to pop them off the blue, I also added a thin piece of card under for definition. Are you like me and save my cornflake boxes just for that job?


Before I started adding my embelishments I added several rub-ons around the page most of which get covered up but I know they are there. I chose flowers from 49andmarket along with chipboard pieces a full list can be found below. The camera's I have fussy cut from a full 12inch page of them.


I used a scrap piece of Maja paper to make my journal tag and tucked under other chipboards from the Serenity collection 


I decided to use this luggage lable as my title today, that is a rub-on there above it. To finish I added some Nuvo drops in denim


Thank you for stopping in today, I hope I have inspired you to get out some of those older papers because they are beautiful and waiting to shine. See what Janine has for you over at  The Mad Scrapper  tell her I sent you!

Sue.

Here is a list of the products used today:
Maja Design - Everyday Life-Making Memories
Maja Designs - Denim & friends - Sneakers
49andmarket - Serenity Chipboard
49andmarket - Vintage Artistry - Everyday Rub-ons
49andmarket - Enchanted Petals - Parchment


Wednesday, January 17, 2024

Pumpkin Patch

 Hello,

Today I am up on The Mad Scrapper Blog with this Pumpkin Patch layout.


I started by taking a sheet of coconut swirl and then 3 sheets of Cocoa Vanilla Heart & Home paper. I cut 4 by 10x1 strips of harvest but you will use both sides. Then 4 by 10x1 strips of leaf litter again you will use both sides and finally I cut 2 by 10x1 strips of bountiful.
Each 10inch strip cut to 5inch, distress all edges then lay on the white cardstock mixing them up this will give you 4 5x5 blocks. Stick down and if you'd like to add more definition stitch down some of them as I have done.


You can just see the stitching here on this next photo.

I took my 2 photos and matted on to green Bazzill cardstock and this one below I added a orange to patch Jack's hat.


I fussy cut lots of flowers and leaves from the  Bountiful paper and after lifting my 2 photos with foam I proceeded to tuck them under giving them some lift with skinny foam pads. I made the one big cluster at the top between the photos and a smaller one at bottom right.


I made sure that some blooms came off the edge on to the white. I have also used puffy heart stickers around the page.


The title is from the pack called Titles with gold foil and I have cut words from the Golden Field paper (there is soooo much on there) to finish off. The couple of extra pumpkins are from my stash.


Thanks for stopping by today do go checkout all the lovely paper collections Janine has over at The Mad Scrapper  and I'll see you next time. Happy New Year!

Sue.

Please find the list of supplies I have used today:
                                                     HEART & HOME – LEAF LITTER 
                                                       HEART & HOME – HARVEST 
                                                 HEART & HOME – BOUNTIFUL PAPER